One week down, and it was a busy one! Here’s a rough overview of how it went:
Blog for initial Plan and Design.
Tada!
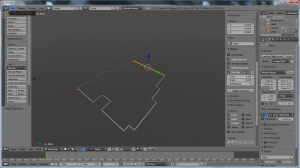
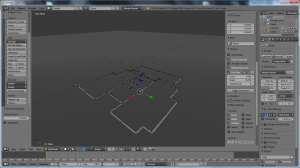
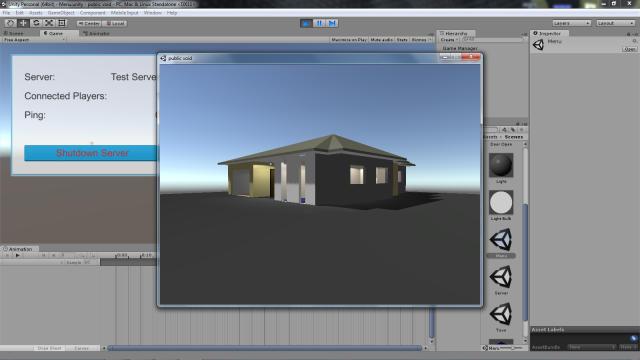
Build a house model for use in world. Try to keep with the design of the imported assets, however some differences will apply in terms of scale to allow for interior access.
While building the house in blender, there were a few things I had to keep in mind. First of all, was the purpose of the build. This was to fulfil the build specific criteria for the assignment, firstly, to build with appropriate scale of construction and textures.
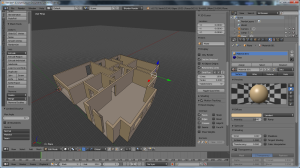
In terms of scale, I managed to achieve a far better result than I thought I would. I’m really happy with the simple design, even if I did spend faaar too much time on it :S
The roof however had me a bit perplexed. I tried a few different ways to get it how I wanted which was similar to the original design, and at some stage I would like to go back and change it, but as I felt I was spending far too much time with it I simply extruded the outlining vertices and pulled them into the center. It may not be the prettiest roof but it should keep the rain out for now.
As I had assumed during planning, the house I built is a bit bigger in comparison to what a small house from the imported assets would be because of the additional interior which needed enough space to actually move around in, but it still has a similar design feel.
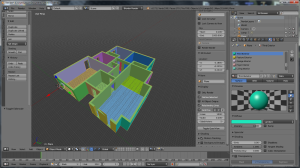
I had planned on creating assets later on very much the same as the ones I had imported from the Asset store, but now I quite like the extra shape shown in the house and may move in a slightly more detailed direction. As for the textures, I don’t feel they really show any scale as they are plain colours that have been assigned to their appropriate faces. I have done this to try to keep with the simplistic feel I’m going for with the main project. Because of this, I have adjusted the schedule for Week Two to include doors and windows with more detailed textures while still keeping within the minimalistic theme.
For the use of shaders criteria, I had initially expected to require multiple shaders as I had done before while using unity, however the latest version of Unity now has the ability to use standard shaders which allow for real time shadows, straight away I jusmped at the chance as up till now it had only been available to Pro Unity users. It took a while to get the settings right to display it appropriately, and to be honest, I’m not sure what I was doing but managed to end up with a pretty good result. I even ended up with that plastic-e look for the objects that I wanted… even if it was by accident.
Import required environment assets and create a basic city environment with which to base the project in and implement the server client system.
The environmental assets I’ve chosen to use (for place holders) are the Simple Town – Cartoon City assets available in the unity store, and created by Synty Studios. These guys make some really neat assets and they come out with new ones pretty regularly. This was to make sure I could quickly have a reasonable space for game testing, but also as one source from which to import assets. The house I built being the second source which I created in Blender, so I still need to find a third source, possibly for the additional items I will be creating in Week Two.
Create a user friendly interface to create or connect to a server, possibility of dynamic server information to be displayed.
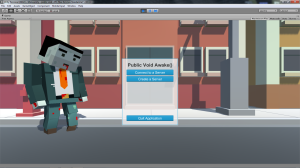
So I had already created a simple button that would either initialize either a Client, or a Server. It was a bit boring, and overall a bit crappy. But now let me introduce you to Main Menu version 2.0… alpha.
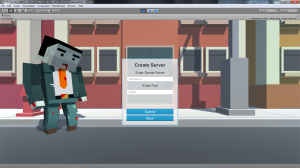
The textures applied to buttons have been imported from Kenny’s Assets, and I really like the look of the menu now.
I’ve added quite a lot of functionality to the menus as well. The new Unity UI makes the creation of UI’s really quite simple. It’s a case of drag and drop, and then add your functionality. It took me an hour or so to get on top of a few things, such as the new UI positioning system, but then I was away.
I’ve added in text fields to enter certain information which are initially filled out with default settings (above), and if they are changed, they can be loaded up using Unity’s PlayerPrefs system… anyone who knows Unity might let out a groan at that, as it saves and retrieves information from the computers registry, but it’s only temporary.
I’ve also added a quitting menu on the Server window and the Clients. The server window also displays the current amount of players that are connected to the server and the average ping as dynamic information. I managed to find a tutorial on how to do this and had to make a few adjustments as they used the old UI system. I do still have to create the correct RPC to show that information in the clients disconnect window as well.
Import Characters, apply the character controller script, and adjust for networking.
This step was pretty easy to finish off this week. I managed to find some awesome character assets from the same people that created the Simple Town assets I am using for the project, Synty Studios. I then had to simply attach the Unity provided script and made adjustments to enable it, or disable it depending on whether the client belonged to the characters user or if it was on someone else’s client.
So with a busy week behind me, and most of what I had planned to complete done, I can move on to next weeks projects. Will see you in a week!
Ciao
